How to make Tiny Little Planet Photos?
Erstellt: | Aktualisiert:Little planet photos are looking very cool and deliver an effect where a photo (typically a panorama) is modified in a way that it looks like a planet. Let's run through the major steps to create such photos yourself.
The major steps to create a little planet photo are:
- Shoot a panorama image (at best)
- Make your image a square image
- Turn your photo upside down
- Transform your photo to polar coordinates
- Cut the visible area
1. Original Panorama Image
This is the original image:
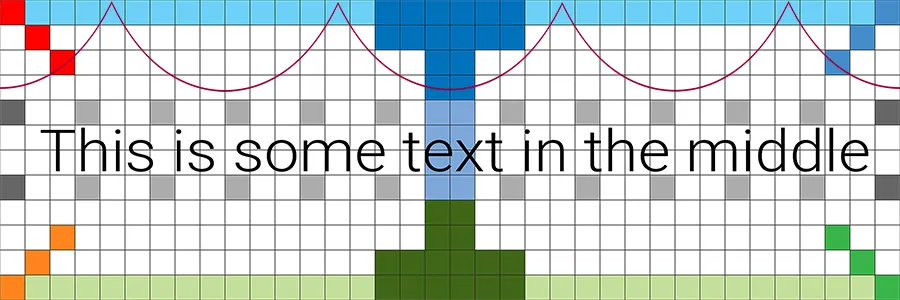
I am using a raster image that you better see what part of the image is transformed where to.
In every corner of the original photo there is a different color to see where this corner can be found in the final image.
Additionally there are some colors at the ground (green) and for the sky (blue).
The red curve has a special meaning we'll see soon.
2. Create a square image
This is the image as a square:
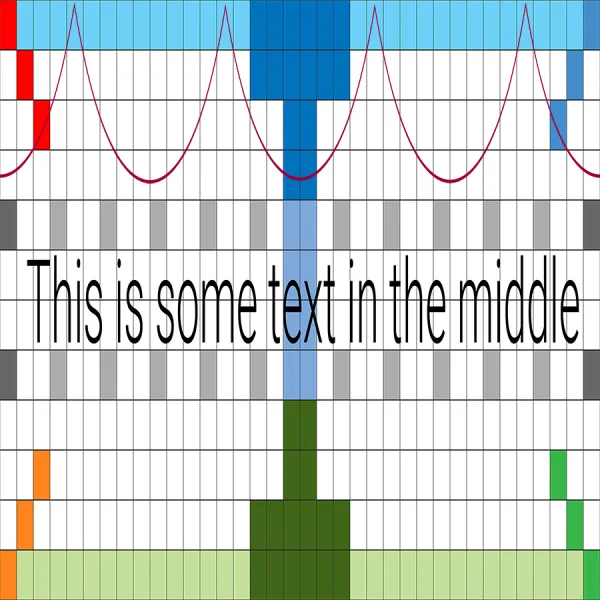
This step is pretty straight-forward. Just make the width and height of the image the same.
3. Turn the photo upside down
This is the image upside-down:
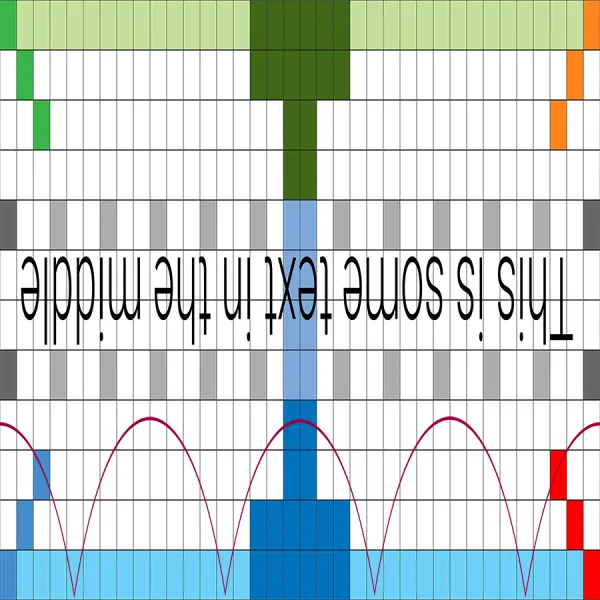
This step is required to get a little planet instead of a big hole. Just try to omit this step and you will see some interesting possibilities:
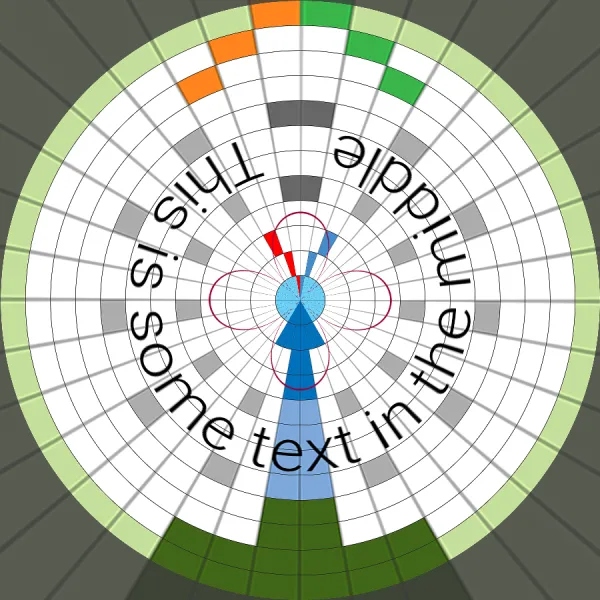
4. Transform to polar coordinates
This is the transformed image:
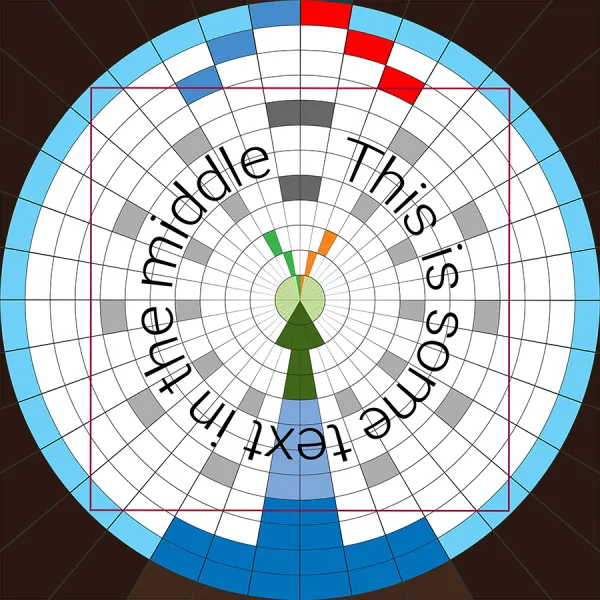
This step is the "magic" one, where the image is becoming a little planet.
Photoshop: Filter > Distort > Polar Coordinates ... (Rectangular to Polar)
5. Final Image
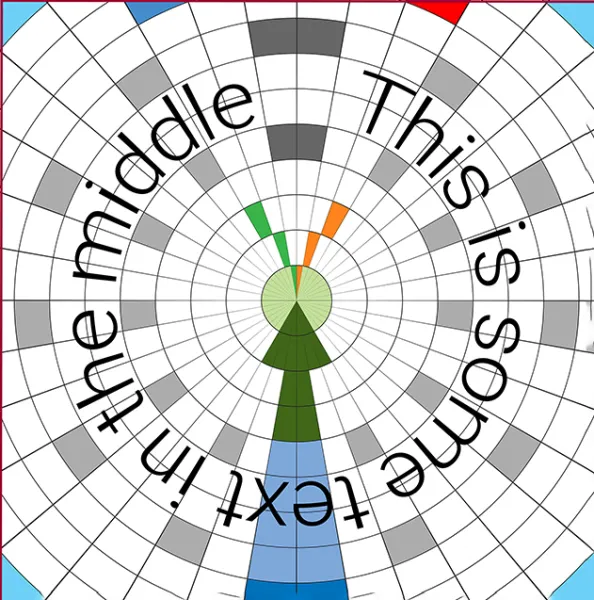
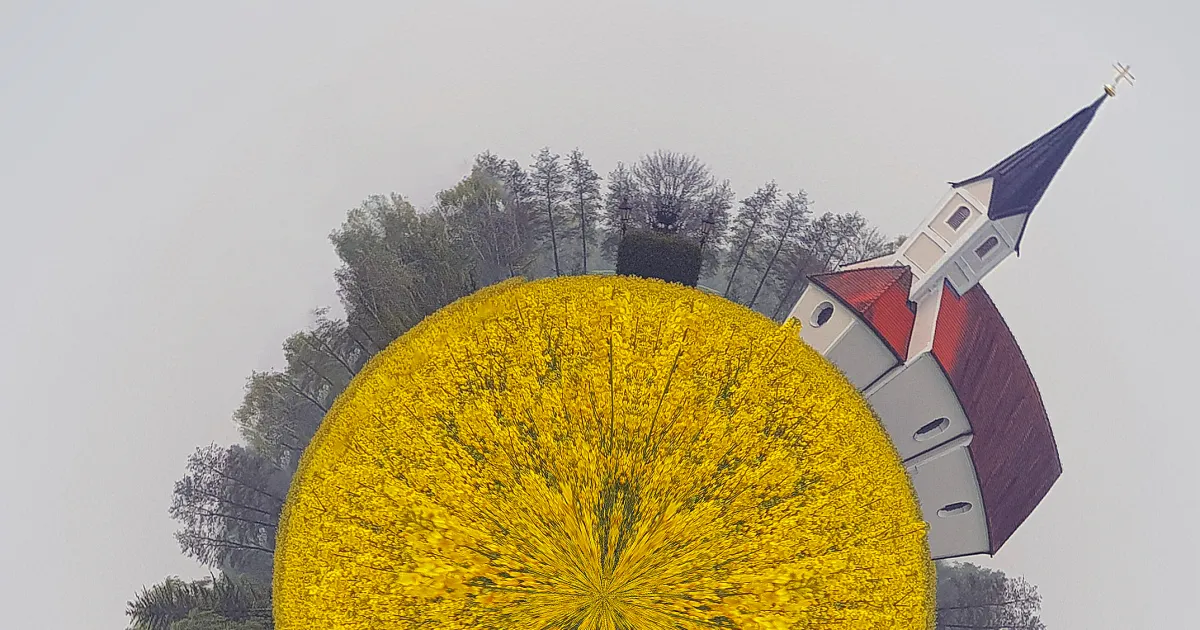
The final step is just cutting the proper visible area - or you can also fill the new areas with a proper background.
Ground: In our final image you can see that the ground (green) is now in the center of the planet and is heavily transformed. It is shrinked quite a lot and therefore you should not have too much detail in the bottom part of your image.
Sky: You can see that the sky (blue) is around the whole planet and is stretched quite a bit.
Stiching: The left part of the image is now glued to the right part so you have to make sure that both sides of the image are aligned – typically no problem with 360° panoramas.
Square: The red curve we have in our original image is now a perfect rectangle. This is useful if you want to crop your final image within your planet. Using the red curve in the original image shows you clearly what parts will be lost.
"Good" area: Place your subject within the middle part, outlined by the gray rects and they will be seen pretty good without too much distortion.
Advanced Stuff
Stretching/Tightening: If you want to make sure that the middle part of your photo (horizon) stays the same length in the final photo you can use a photo ratio of π (=3.14). Just make a short calculation and you will see why ;)
In this example we have an aspect ratio of 3:1 which is pretty close to it. This is very useful if you want to make sure the the middle part of your photo is not distorted that much.
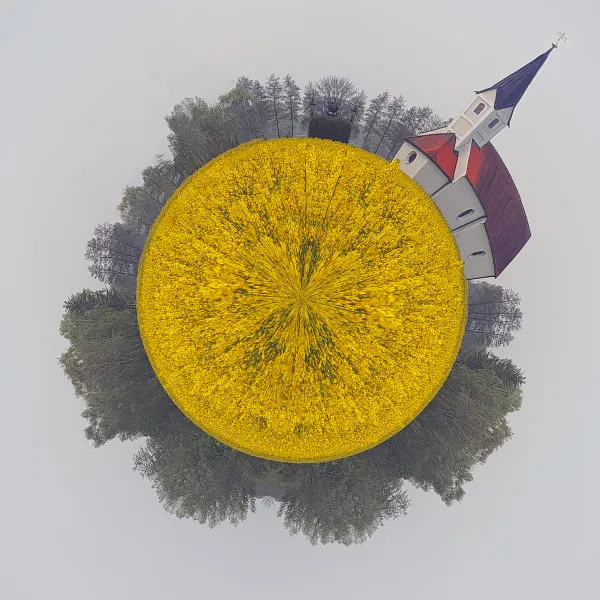
And here the initial image as full little planet:
